At this point I am salivating. I have to have a mod'ed printer like this.
So in this blog, among other things, I will chronicle my efforts to reproduce Volkan's and Stephan's fabulous results.
To begin, I got my C84 off eBay. Less than $30 shipped! The ink kit I got from MIS for $88 shipped. Heh. Still the ink should last a while. I only bought yellow, the stuff reported to resist the best and also a little black. I took a few CCs of the black and put it in the yellow as others had reported they'd done to improve the yellow's visibility on the PCB. Two or three CCs was all it took to turn the entire 4oz bottle of yellow to a dark nasty sort of grey. I loaded all four refillable carts for my Epson with this stuff.
I'm not going to chronicle the assembly and installation of the refillable carts for the Epson as this is a reasonably easy and time-tested procedure that is engineered to succeed. I got it right on the first try and lots more than two people have done it.
Anyway, before I began I wanted to test fire the intact printer on regular paper to make sure it sort of worked. I hadn't gone after the vacuum tube assembly that Stephan assured me I'd have to clean so I wasn't uber hopeful. On the first try, nothing came out. However, I took out the black cart, pulled and pushed the syringe while plugging into the bottom with the priming nozzle, and then reinserted and ran a nozzle clean from the maintance screen.
On the second run I got this:
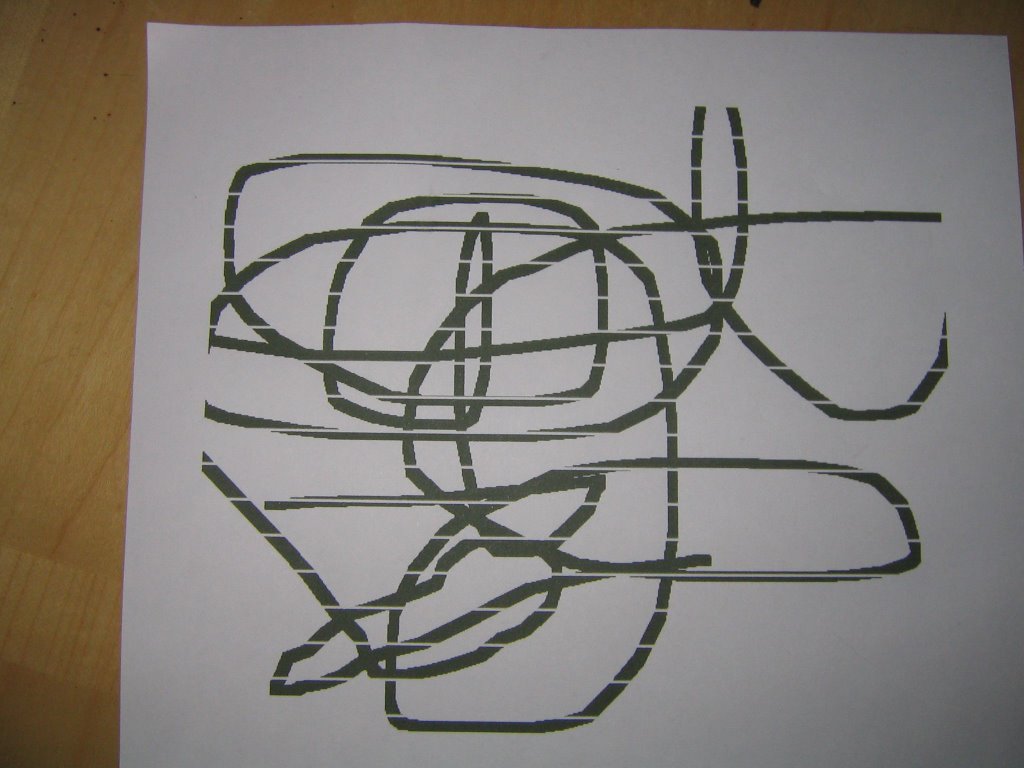
That would be death for a PCB of course. So a day and another nozzle clean later the printer shaped up:

The black portion of the nozzle test (left slashing lines) is perfect even thought the color pattern is broken. (The color is loaded with the same stuff the black is, so who cares?) And the test squiggle drawn in Paint is un-broken except at the top and left where it was broken in the original Paint file.
Good results seeing as I haven't even touched the vacuum system!
So that is where I stand as of tonight. I have a well-enough functioning C84 loaded with an easy-to-refill ink system. Now I need to embark on the printer mod's described in the Wiki. As ever, real-life intrudes on my hobby. I don't think I shall have chance to do anything tonight as this blog entry has consumed all of my free time. But I shall press on! I can smell ultra accurate etching in my future!